

Hello ladies ! can you believe that this is my fifth week in Miami ? I can’t either ! I’ve been enjoying every minute of it, even the rainy days! Remember that last year I had this horrible sun allergy? I couldn’t be out in the sun for 10 seconds without my skin starting to rash, it was ugly and painful; Well those day are gone but although my skin isn’t reacting to the sun anymore I take it easy and don’t overexpose myself to harmful UV rays anymore, instead I use a safer practice : Fake Baking, yes I said it ! that tan skin that you see in my Insta- feed it’s a combination of natural and artificial tanning.
I consider myself a pro when it comes to self tanning, I have my technic down and everything. So take notes and don’t forget to share with a sis that might need some help with this.
4 Steps to reveal the Bronze Goddess in you.
#1 JUICE UP! this is optional but I highly recommend it, one week before starting to tan, drink carrot / beet juice to build color in your skin, I promise it works ! I prefer the combination of both, carrot juice alone leaves me an orangish-golden tone but I prefer a tint of red too.
#2 PREPPING IS KEY, dry brush your skin, also use your favorite exfoliant to get rid of dry skin. For my face I use polishes for sensitive skin and for the body I prepare my own mix. Without this step you could end up with uneven color and your tan won’t last as long.
There’re many good exfoliants out there, but I like preparing my own in small batches. It’s super simple and your skin will look soft and glowing.
-Organic coconut oil ( any oil for the body would do)
-Organic ground coffee
-Raw sugar
– Peel and juice of one orange (no pulp oil seeds)
Mix all together until a paste consistency is formed.
After dry brushing rub this mix all over your body, don’t miss a spot! if you don’t have anyone to help you with the back, you can use a long brush instead. Rinsed off the exfoliant with shower gel. No trace of oil /moisturizer should be on your skin. Now your are ready to apply the self tanner.
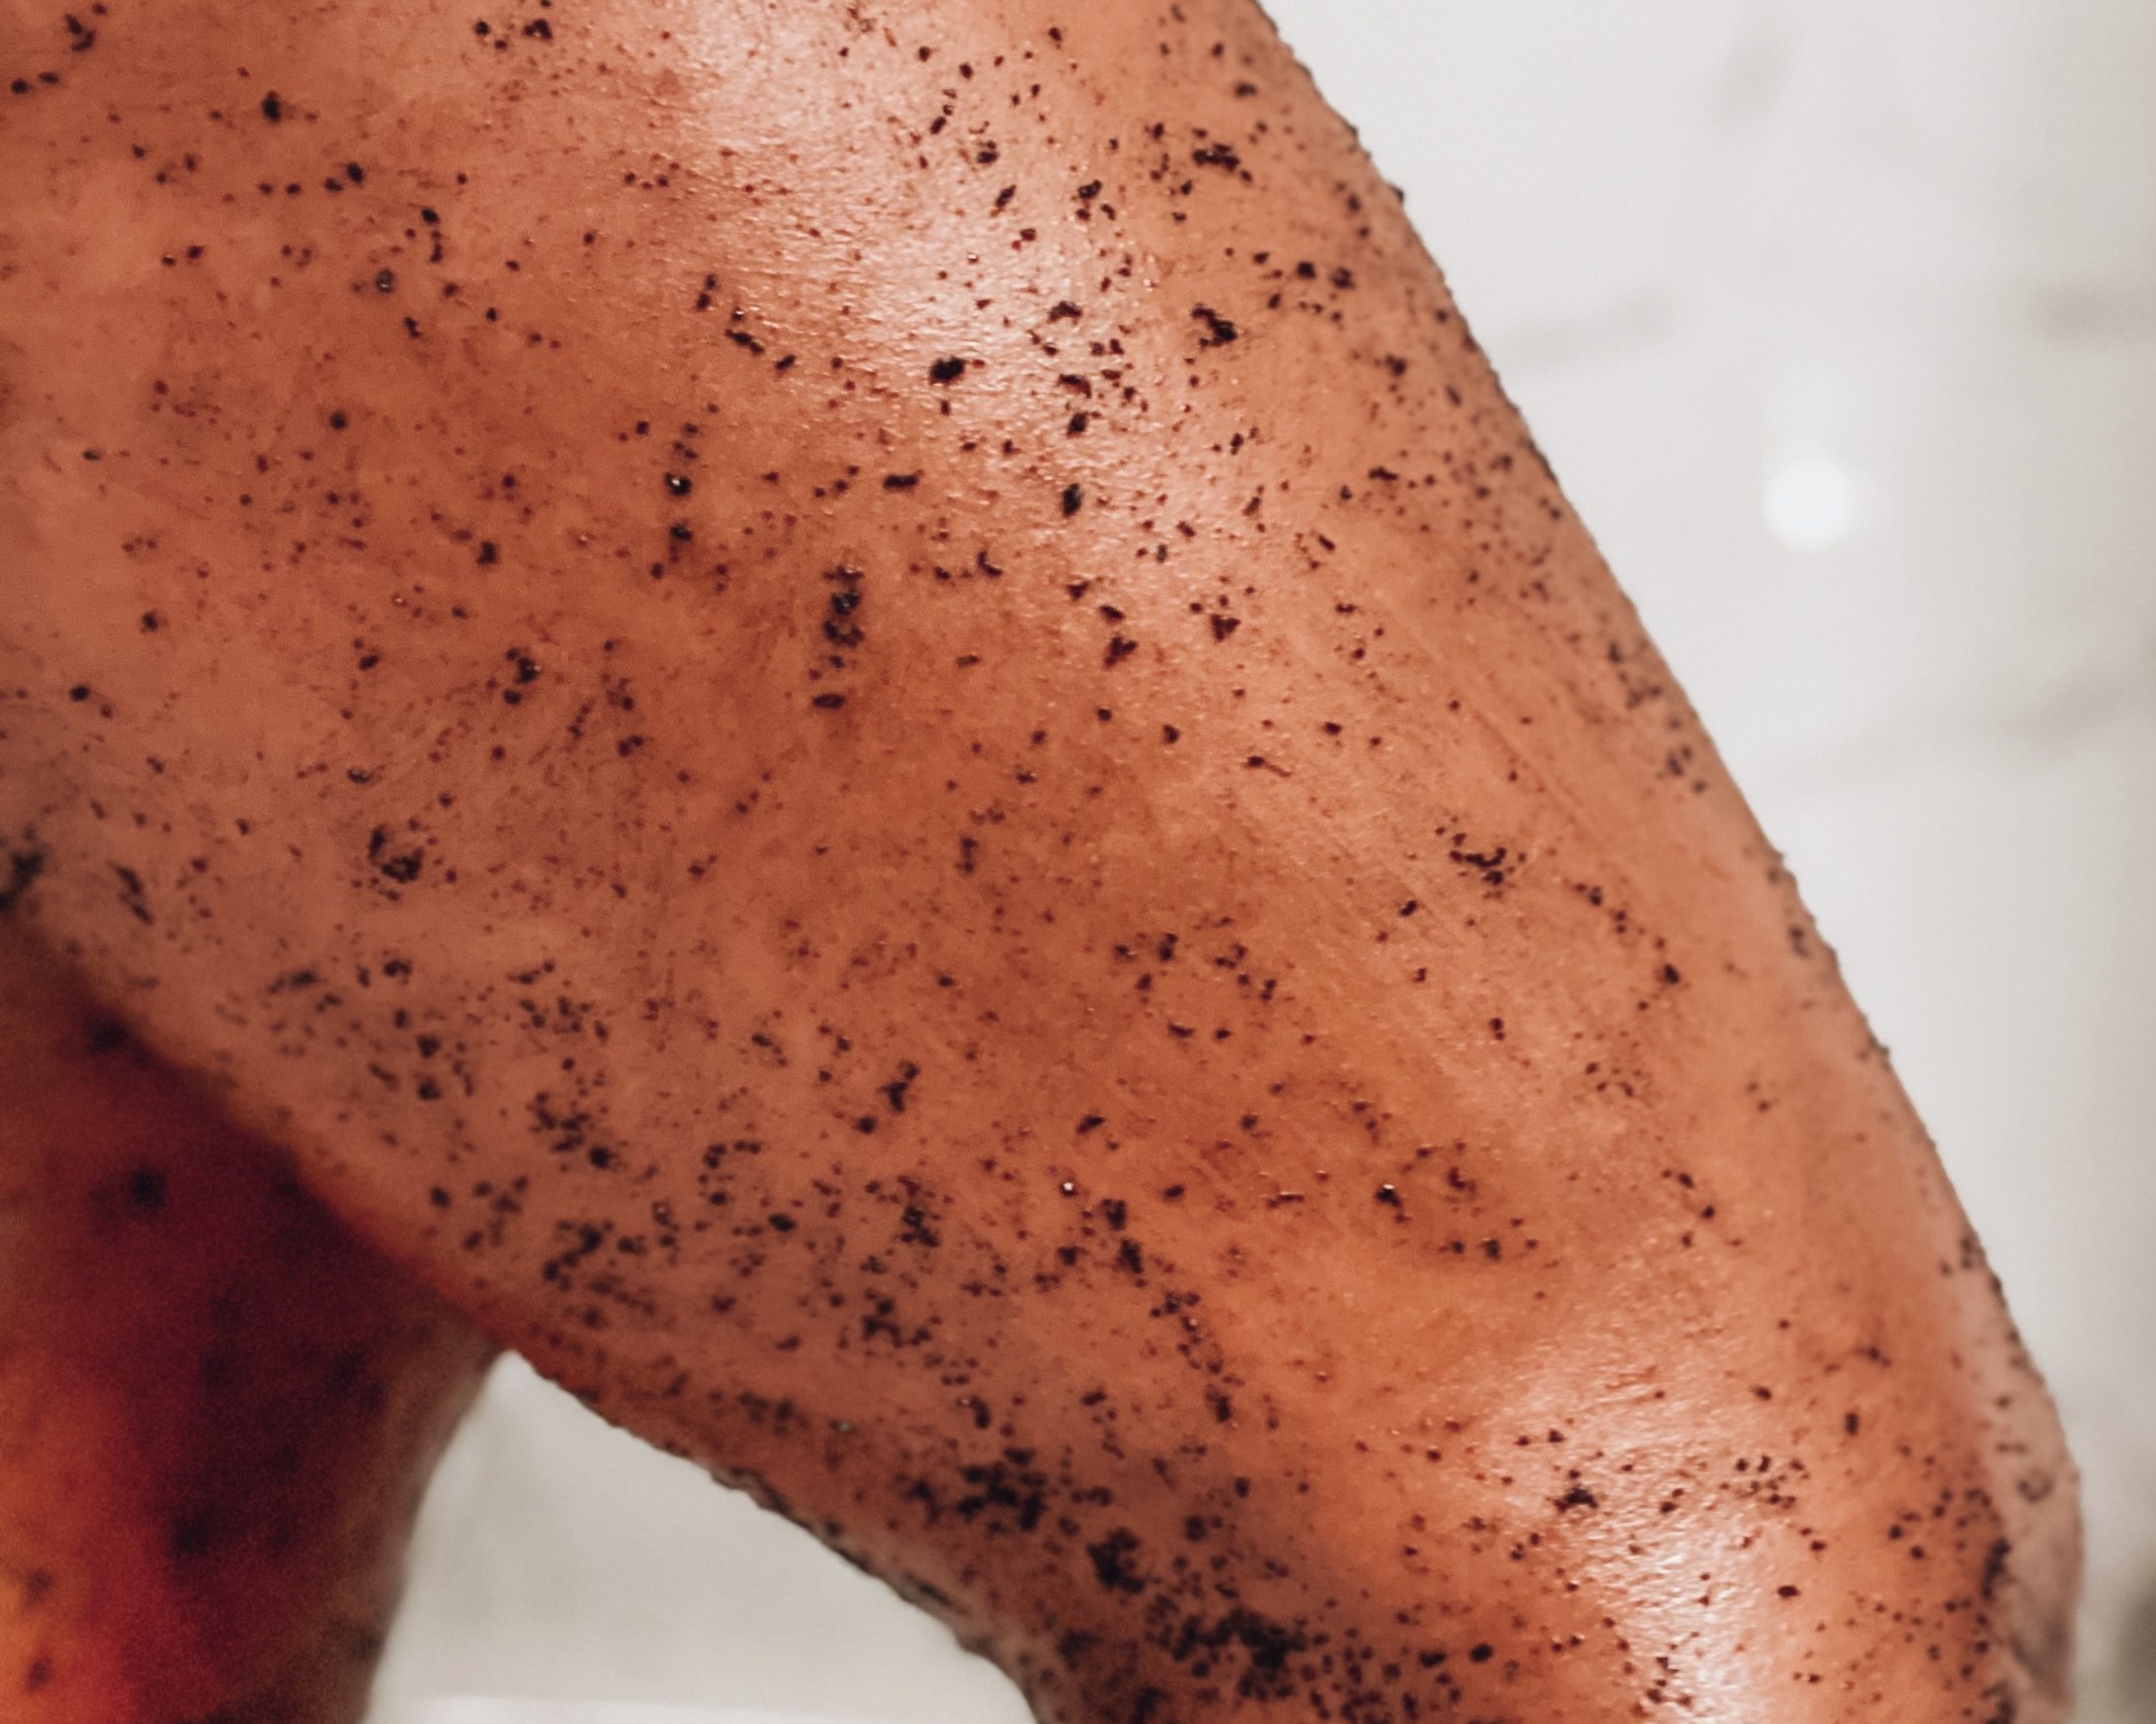
Dry brush and exfoliate for an even and long lasting tan.
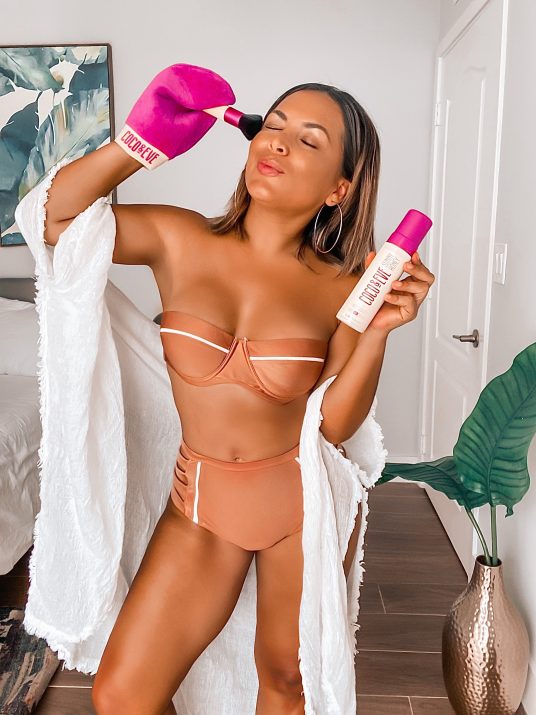
#3 USING THE SELF TANNER- after my second day sunbathing I exfoliate again and apply self tanners to conceal my tan lines, make sure to choose a GOOD brand, I recommend SUNNY HONEY from Coco & Eve, it doesn’t leave you an orange color, it’s vegan and infused with raw coconut oil and amino acids to hydrate and firm skin. It also contains other powerful antioxidants that can help to improve signs of aging. Use the mitt for an easy and clean application all over your body and the kabuki brush for face, ears and other smaller areas.
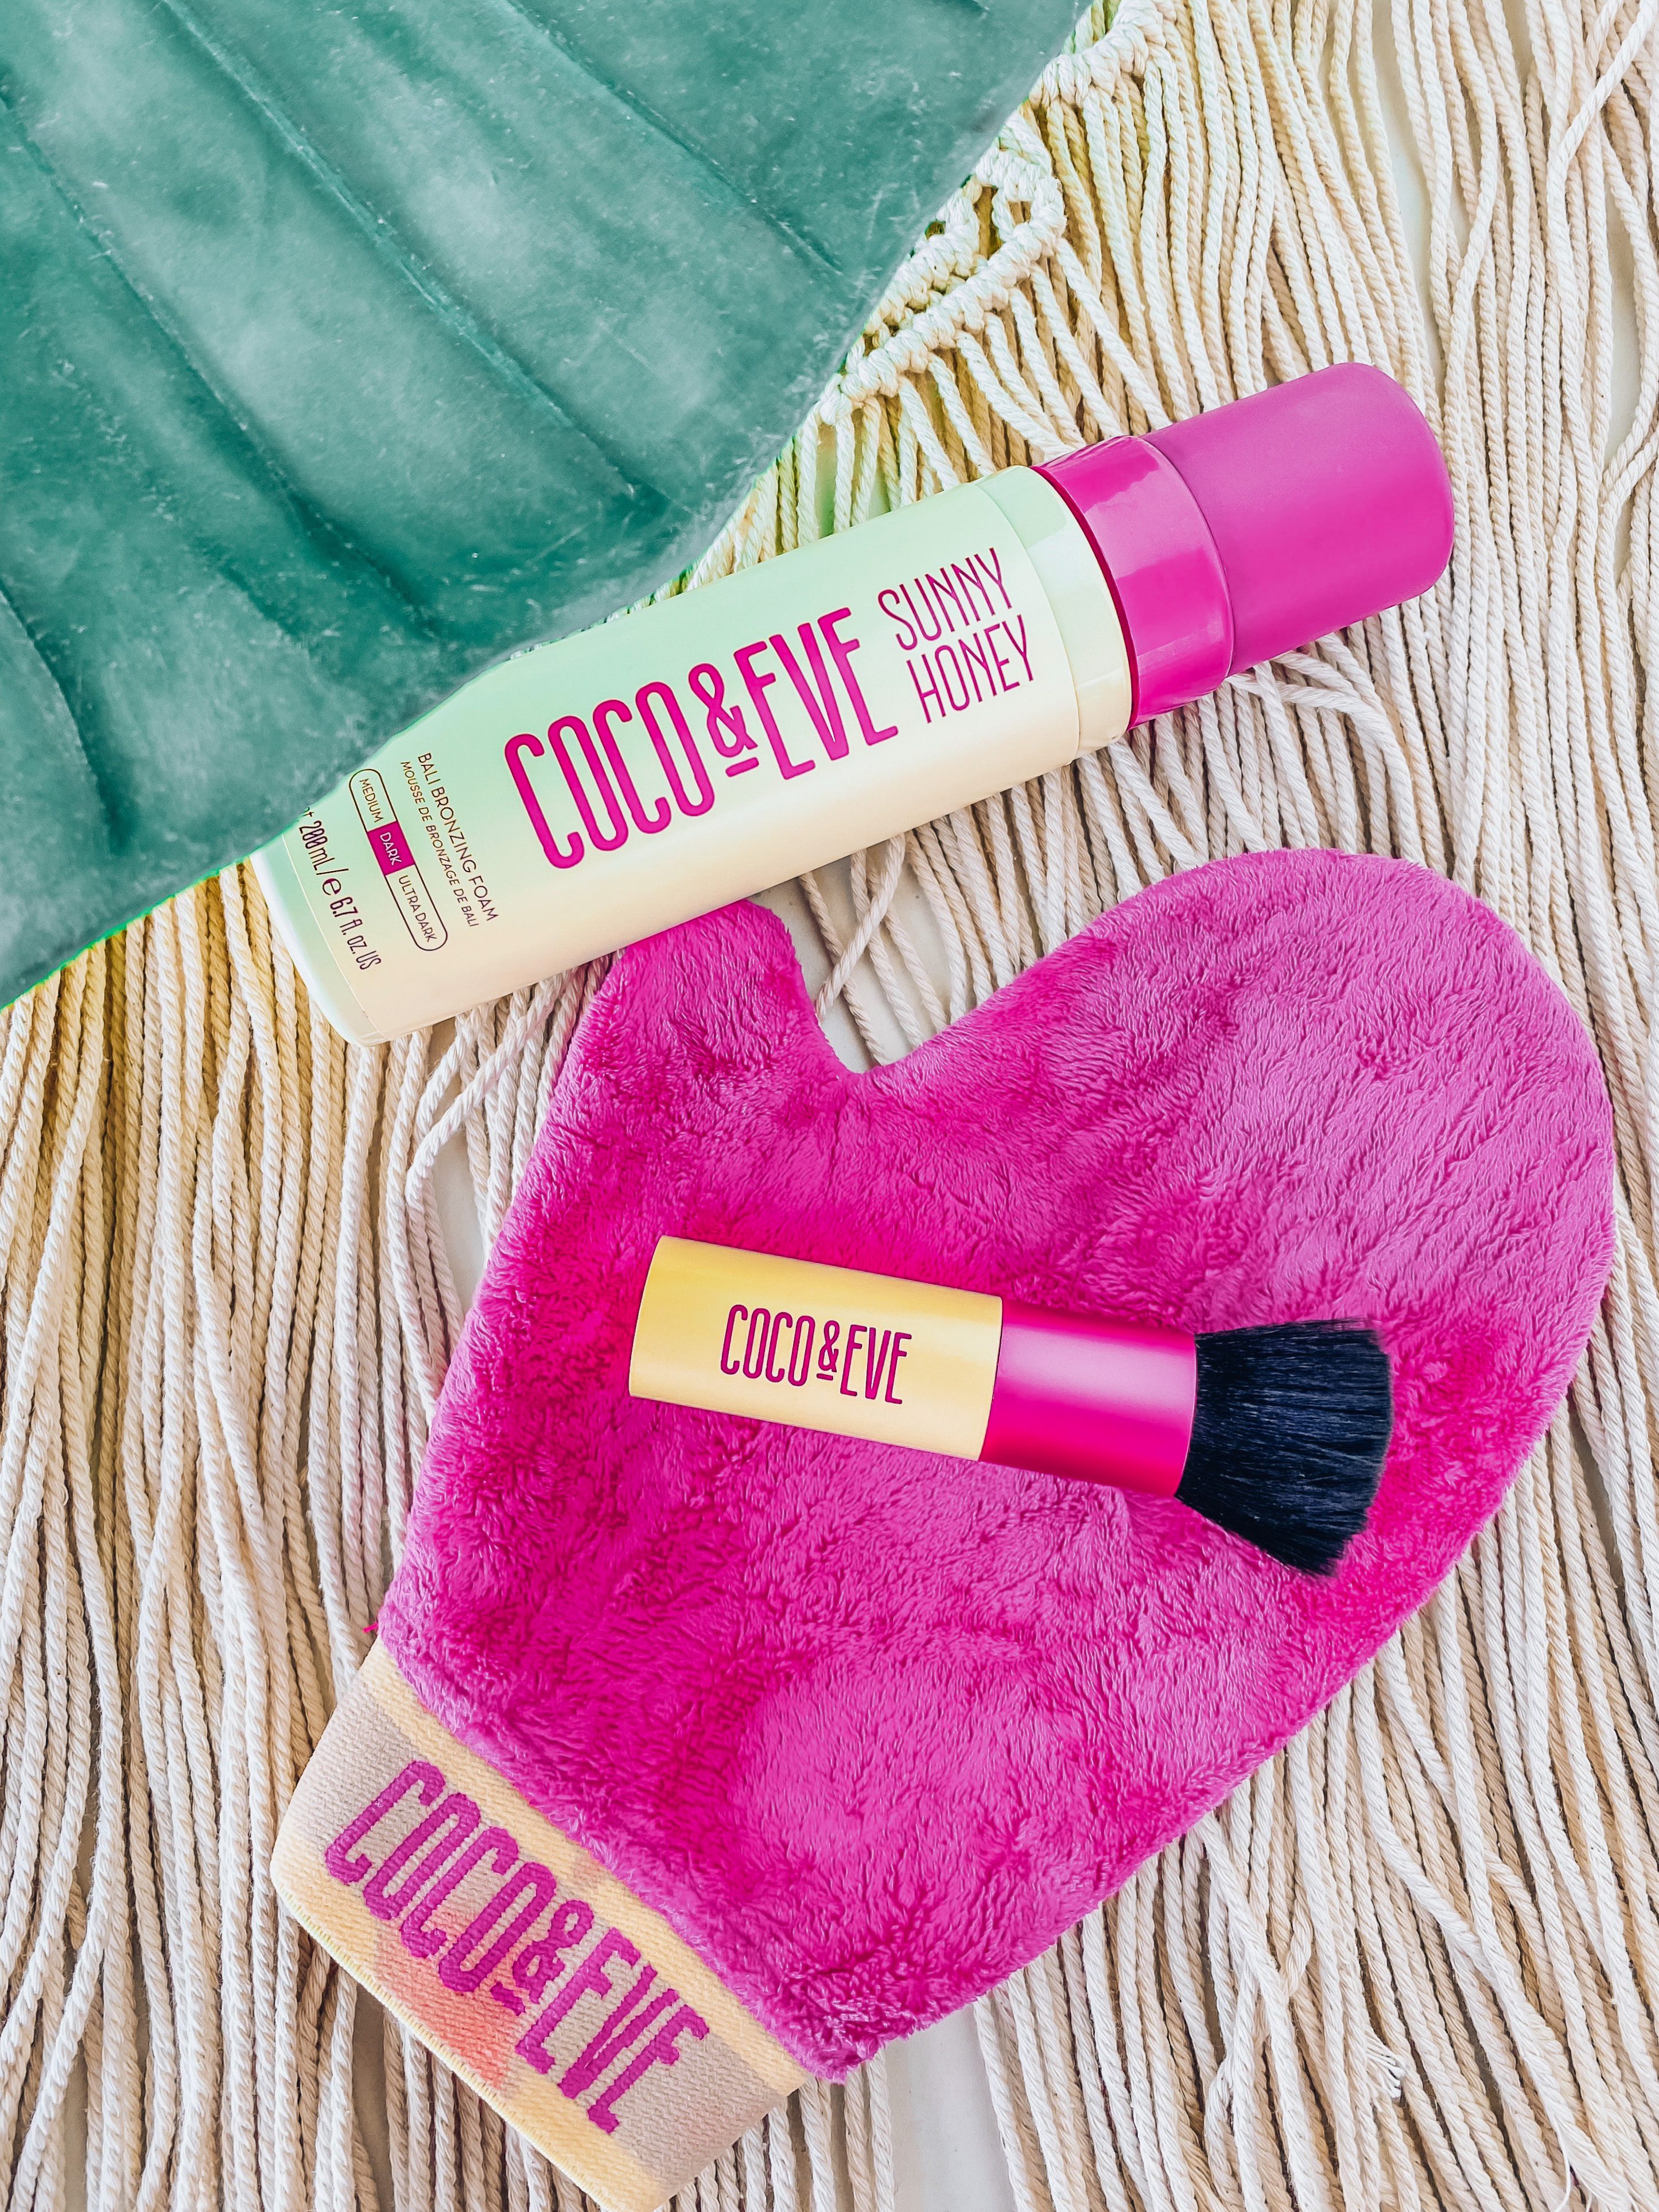
This Mitt and Kabuki brush will give an airbrushed finish.
Last but not the least….
#4 MOISTURIZE, MOISTURIZE, MOISTURIZE. If you want your tan to look fresh and radiant and last longer don’t skip this step, I prefer body milks or gels, the consistency is lighter and absorbs instantly. I reapply tanners every week alternating the dry brushing and exfoliating process.
These steps can work in combination of natural and artificial tanning but if you are self-tanning using only SUNNY HONEY Coco & Eve I’m positivity that you’ll love the results too. It’s fabulous and safe alternative that will leave your skin soft, nourished and glowing.
So there you have it my ladies! these are my easy steps for the ultimate bronze goddesses.Try it and let me know how it goes, send me your stories to @lizostyle for a chance to be featured on my page.
Love you and thank you for visiting the blog.
“Life is better in a bikini and a bikini is better with a tan!”…
What do you think?